10 Essential Tips for Capturing Mouth-Watering Food Photos
Capturing mouth-watering food photos requires a blend of technique and creativity. Here are 10 essential tips to elevate your food photography game:
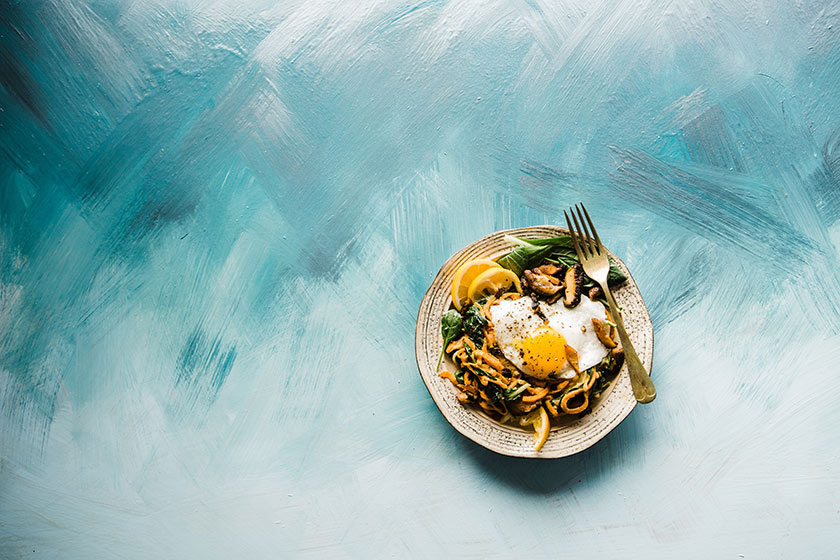
- Use Natural Light: Always strive to use natural lighting to highlight the true colors and textures of your dishes. Avoid harsh overhead lights that can create unflattering shadows.
- Choose the Right Angle: Experiment with different angles to find the most appealing perspective for your food. For flat dishes, a top-down shot can be effective, while side angles are perfect for showcasing layers.
- Focus on Composition: Utilize the rule of thirds to create a balanced composition. Position key elements along the grid lines or their intersections to draw the viewer's eye.
- Style Your Food: Take the time to style your food with care. This includes using fresh ingredients, garnishes, and props that complement the dish.
With the technical aspects in mind, remember to also keep your background clean and uncluttered to maintain the focus on the food. Editing your photos afterwards can greatly enhance their appeal. Use editing software to adjust lighting, contrast, and saturation as necessary. For more tips on food photography techniques, check out Food Photography Blog.
Bonus Tip: Don’t forget to engage with your audience by sharing behind-the-scenes shots or the stories behind your dishes on social media. Not only does this create a connection, but it also enhances the overall experience of your food photography. For more on engaging your audience, visit Social Media Examiner.
How Lighting Affects Your Food Photography: Tips for Perfect Shots
Lighting plays a crucial role in food photography, as it influences the mood, color, and feel of your images. Natural light, especially during the golden hour, can enhance the texture and vibrancy of your dishes, creating inviting photos that make mouths water. To achieve the best results, position your food near a window to take advantage of soft, diffused sunlight. Avoid harsh midday light that can create unflattering shadows and highlights. You can also use reflectors to bounce light back onto your dish, adding depth and dimension. For more tips on using natural light, check out this guide on Natural Light in Food Photography.
If you're shooting indoors or the available natural light isn't sufficient, consider using artificial lighting. Softbox lights and LED panels can provide consistent lighting that mimics natural light, allowing you to set up controlled environments. When using artificial sources, remember to adjust the color temperature to match that of daylight to avoid unnatural hues in your photos. Additionally, experimenting with light modifiers, such as diffusers and grids, can help you shape and soften the light for the desired effect. For a deeper dive into artificial lighting techniques, visit The Complete Guide to Food Photography Lighting.
What Equipment Do You Need for Stunning Food Photography?
To achieve stunning food photography, having the right equipment is essential. The first and foremost item on your list should be a good quality camera. While professional DSLRs are popular, you can also achieve great results with mirrorless cameras or even high-end smartphones. In addition to the camera, you’ll need a versatile lens. A 50mm lens is a great option for food photography, as it allows you to capture images with beautiful depth of field. For more versatility, consider using a macro lens to capture intricate details. To learn more about different types of lenses, check this guide from B&H Photo Video.
In addition to your camera gear, lighting is crucial for stunning food photography. Natural light is your best friend, so try to shoot near large windows or outdoors during the golden hour. If natural light isn’t sufficient, investing in softbox lights or LED panels can greatly improve your images. Moreover, don't forget about tripods – they are vital for stabilizing your camera and ensuring sharp images, especially in low light conditions. For tips on how to set up your food photography lighting, visit Digital Photography School.