5 Essential Tips for Posing Like a Pro: Insights from Behind the Curtains of a Photo Studio
Posing can make or break a photo, which is why understanding the nuances of your posture and expression is crucial. Here are 5 essential tips for posing like a pro that will elevate your photography game:
- Know Your Angles: Spend some time in front of a mirror to learn your best angles. Experiment with tilting your head slightly or shifting your weight to one leg. Finding your sweet spot will help you appear more natural and poised in photos.
- Engage with Your Eyes: A photograph is more than just a still image; it's a reflection of emotion. To convey confidence and engagement, focus on your eyes. Practice expressing different feelings through your gaze, whether it’s a soft look or a fierce stare.
Additionally, pay attention to your hands and body language. Having a clear understanding of how to position your body can greatly impact the outcome of the shoot. Consider these final tips:
- Relax Your Shoulders: Tension can destroy the overall feel of your pose. Roll your shoulders back and down to create a relaxed and more flattering silhouette.
- Create Layers: Use your arms and legs to create depth by posing at different angles. This technique helps add dimension to your photos, making them more dynamic.
- Patience and Practice: Lastly, don’t rush through poses. Take your time to feel comfortable and natural, and remember that practice makes perfect.
What Goes into Creating the Perfect Lighting Setup? Secrets from a Photo Studio
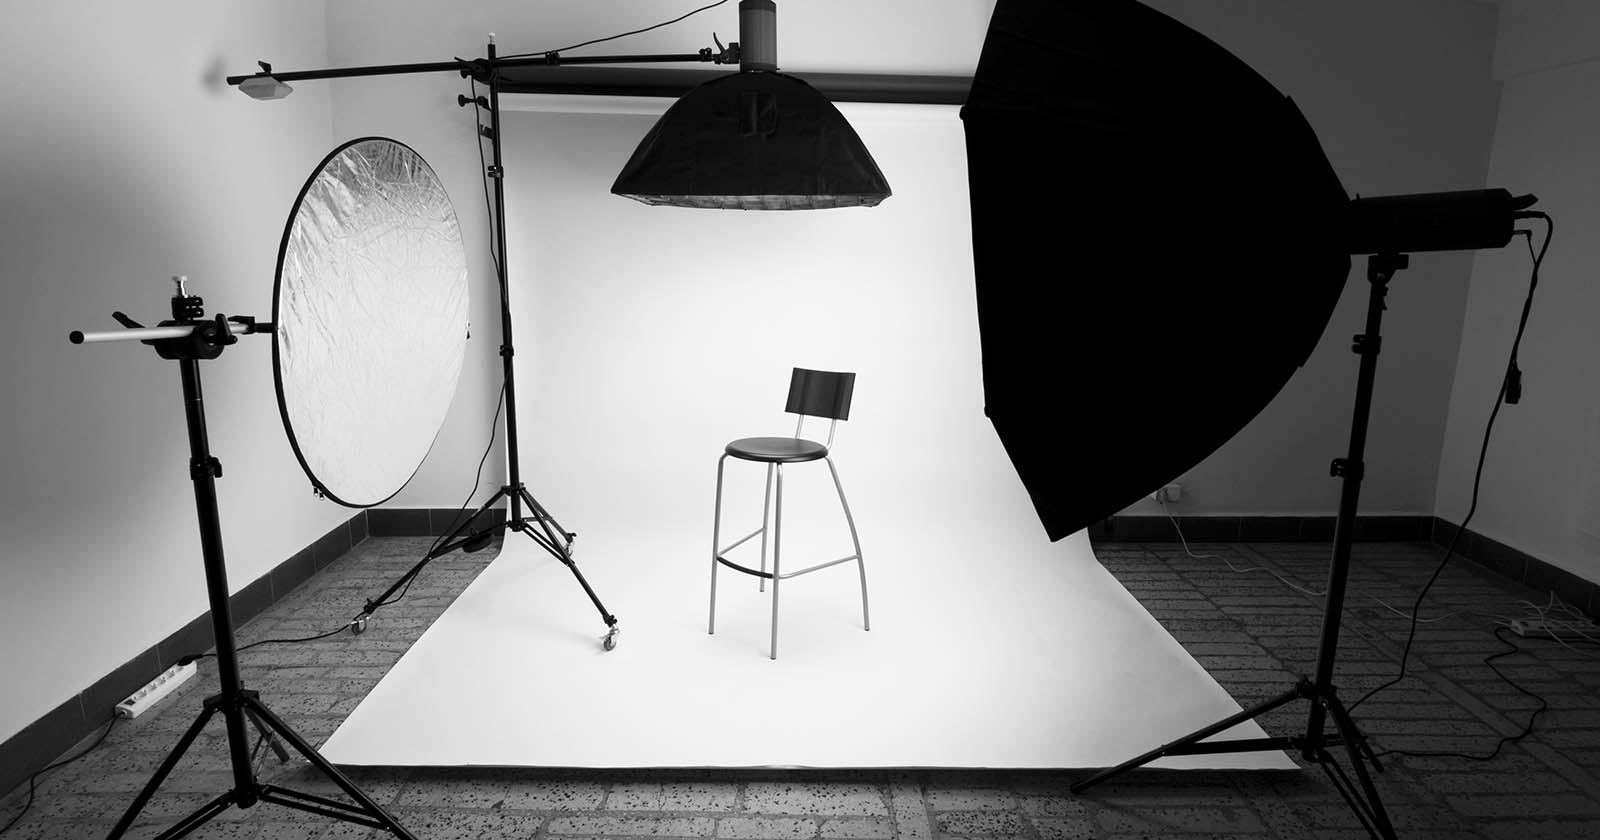
Creating the perfect lighting setup is crucial for achieving stunning photographs. The foundation of any great lighting scheme starts with understanding the different types of lighting sources. Natural light can provide a soft, flattering look, but it’s often unpredictable. Therefore, many photographers opt for artificial lighting, which includes options like continuous lights, strobes, and speedlights. Each type offers unique characteristics, so knowing when and how to use them is essential. For instance, a softbox diffuses harsh light and adds clarity to your subjects, while a reflector can bounce light to fill in shadows.
In addition to the types of lights, the placement of your lights is equally important. A common technique is the three-point lighting setup, which includes key, fill, and backlights. This method creates depth and dimension, ensuring your subject stands out against the background. Don’t forget to experiment with the color temperature of your lights, as this can drastically change the mood of your photos. Lastly, always consider your surroundings and how they interact with the lighting; reflective surfaces, colors, and textures can influence the final outcome in ways you may not initially expect.
Behind the Curtains: How to Choose the Right Backdrops and Props for Your Photoshoot
Choosing the right backdrops and props for your photoshoot is essential to achieving stunning results. Begin by identifying the theme and vision of your shoot; this will guide your choices and help set the mood. Consider using a mix of different backdrops, such as solid colors, patterned fabrics, or even natural settings, to create depth and interest. Additionally, incorporate props that align with your story, whether it's a vintage chair for a classic look or colorful balloons for a fun, casual vibe. The goal is to ensure every element complements your overall aesthetic.
When selecting your backdrops and props, keep in mind the following tips:
- Color Palette: Choose colors that harmonize with your subject and evoke the desired emotion.
- Scale and Size: Make sure your props are appropriately sized for the subject, as oversized or undersized items can look awkward in photos.
- Texture: Introduce various textures to add visual interest and enhance the 3D quality of your images.